

This article will help you with a quick and easy guide on how to install deck flashing on existing deck. There is no need to hire a contractor; the next time, your old deck needs to be retrofitted with flashing. Flashing is one of the most important parts of any structure that will be exposed to excessive water, such as decks and porches. It can greatly extend the life of your building. If you don’t install it correctly or maintain it properly, it could lead to costly repairs down the road. This guide will walk through all steps needed for installing new flashing in just minutes!
What Is Deck Flashing?
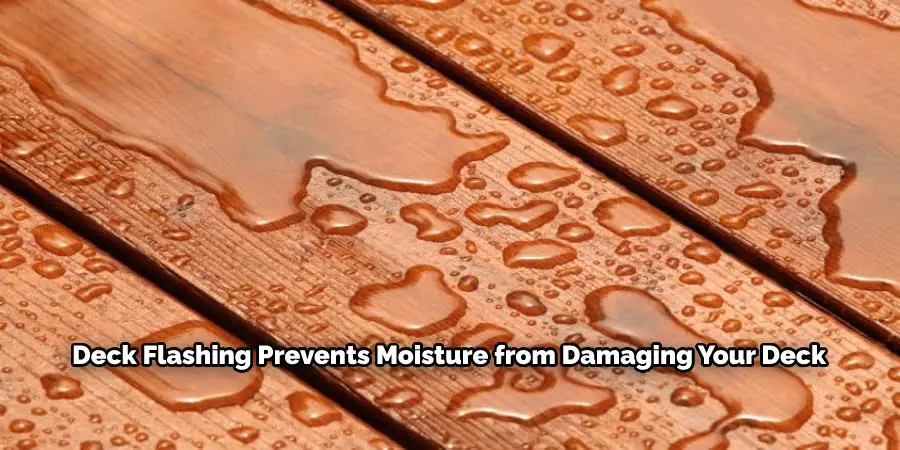
Deck flashing is used to protect the deck boards from water damage. Deck flashing is installed along the edge of the decking boards, usually on both sides. It prevents moisture from entering between the boards. With increased awareness about environmental impacts, many homeowners are looking for natural alternatives to traditional decking materials. One of these alternatives is pressure-treated wood which contains chemicals harmful to humans and pets. However, if you know how to install deck flashing on the existing deck you can protect it from water damage.
Is Deck Flashing Necessary?
Many people wonder if deck flashing is necessary when installing a new deck on existing construction. It is possible to install a new deck without flashing if you follow a few guidelines. However, it will not last as long since there is no protection from the elements. To ensure your deck lasts longer than one year, you need to know how to install deck flashing on the existing deck.
Required Tools and Materials
A deck can offer a nice outdoor space in almost any house, but you’ll need to spend a good deal to install them. Materials and equipment will need to be purchased before they can be installed. So all the things that you’ll need are listed below
- Screw gun with various screws
- Shims
- Nails
- Caulk
- Waterproofing membrane
- Siding sealant
- Copper flashing
- Galvanized flashed or aluminum for roofs
- Water sealants or caulks to seal joints and seams of deck boards
- Lumber for framing.
Deck Flashing Types
If you decide to use deck flashing, make sure to choose the right type of material. There are two types: aluminum and copper. Aluminum has been used since the 1950s because it’s easy to install and inexpensive. Copper was first introduced in the 1970s as an alternative to aluminum. It provides better protection against water intrusion than aluminum does. However, copper requires more maintenance than aluminum does.
How to Install Deck Flashing on Existing Deck
Most homeowners maintain a wooden deck on their property that is a perfect place to share time with friends and family. However, these decks can require upkeep and maintenance. Be sure your deck is safe and looks good by revealing flashing around your decking’s meeting point with the structure. Installing flashing protects the wood from water damage and makes it last. Whether you choose to do the installation yourself or hire a professional, this guide will give you all the information you need to get started.
Clean the Deck
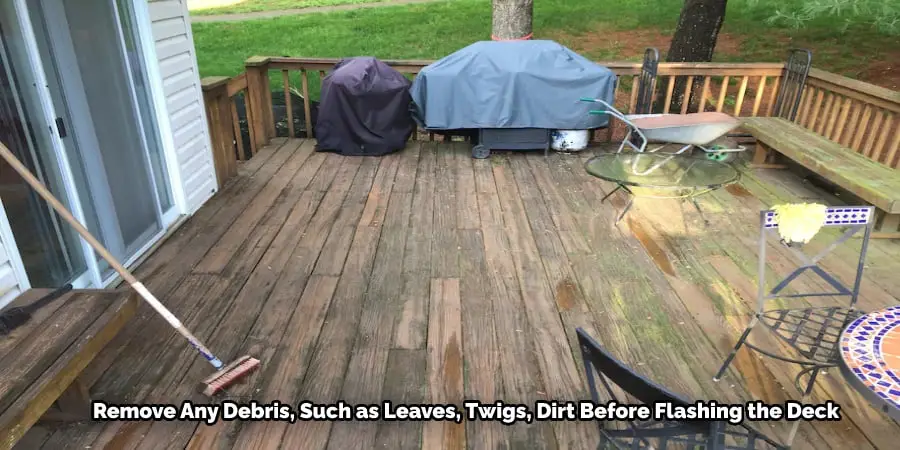
Before Installation, you need to remove any debris, such as leaves, twigs, dirt, etc., from around the area where you plan to install the flashing. This will help you to prevent moisture buildup in the area, which could cause rot.
Apply Flashing to the Deck
Step 1: Measure Your Deck Area
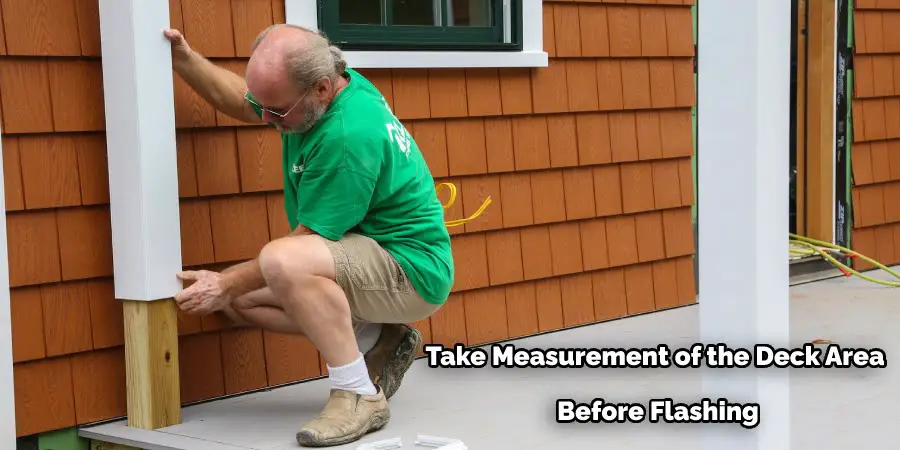
The first step is measuring your deck’s perimeter so you have a good idea of what size flashing you’ll need. If you’re unsure where to start, measure around the entire length of the house or garage. Then add one foot onto each side of this measurement. That should give you enough room to work with when installing the flashing.
Step 2: Cut Flashing Strips
Once you’ve measured your area, cut two strips of flashing per inch along both sides of the wall. For example, if you want four inches of flashing, you would cut eight flashing pieces. You can use any type of metal flashing that will fit into your space and be strong enough for what you plan on doing. Examples are aluminum, copper, stainless steel, galvanized iron, etc. If you’re unsure which material is best suited for your project, just ask a local home improvement store employee. They’ll know exactly what’s right for your situation.
Step 3: Attach Your Metal Flashings to Wall Studs
Now it’s time to attach each piece of flashing to the studs in your walls. Utilize an electric screwdriver or a drill with a pair of Phillips bit tips to ensure everything goes as intended. Make sure to measure twice before drilling! You don’t want to end up having to redrill holes because they were too big. Once all the pieces have been attached, use some construction adhesive and sealant on any gaps between the metal and wood. Getting water into your wall cavity can be held back by this process.
Use Caulk to Seal Flashing on the Deck
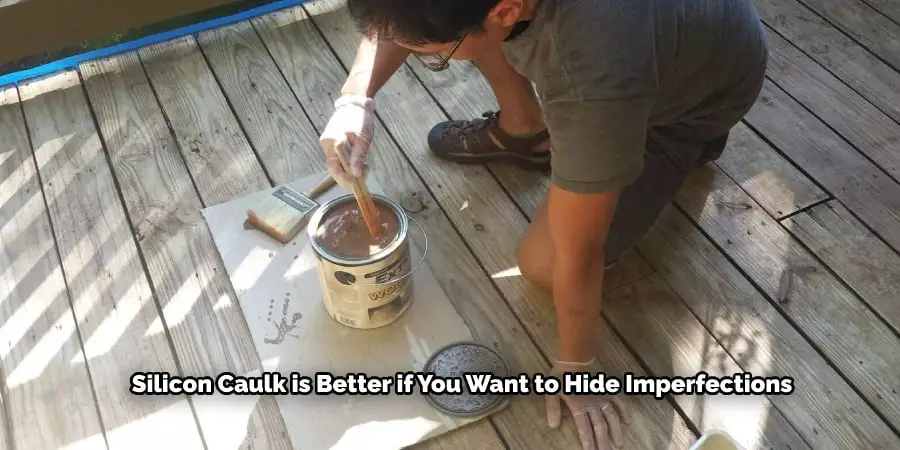
If the seal flashing on the deck is coming off in some areas, it will need to be caulked in order to fix the problem. The easiest way to do this would be to just caulk over the entire area where you see cracks forming. If there are a lot of small spots that need to be fixed, you can also try using silicone caulk instead. Silicone has an advantage when used for sealing around windows or doors as well since it’s flexible enough to conform to irregular shapes.
Clean Up
After applying the flashing to the deck, it is important to clean up. Scrape off any excess flashing that might be sticking out. Clean up any extra flashing with a scraper and discard. You’ve now got a nice and smooth deck surface.

Precautions
Most homeowners are not aware of the need to take precautions when installing deck flashing on an existing deck. It is crucial that you take these proper steps, or else you could find yourself with a dangerous leak. The first step is to make sure the flashing is properly installed tight against the house and siding. Additionally, it should not be placed too close to other components like windows, doors, and vents. Make sure the flashing does not cover up these vents, for they are essential for ventilation purposes.
Conclusion
In conclusion, flashing should be installed on any new deck you build and as an added precaution, do the same with the old one to keep water from leaking into your living space. Flashing can be done in a DIY project, and we recommend you talk to an expert before beginning just to be sure it is done properly.
If you have a deck that was already built without flashing, consider installing it to prevent water from coming inside your home.
Frequently Asked Related Questions
Will It Cost Much?
A new deck is a great way to expand your outdoor living spaces. However, before you start thinking about adding materials, be sure to consider the costs of Installation. With an average cost of $3,500 for labor and materials for a 10’x12′ deck, you might want to start by looking at the flashing on your existing deck. This could save you from spending tons of money on labor and materials.
How Do I Know if It’s Time to Install Deck Flashing?
Deck flashing is a type of roofing material installed on the edge of a roof to prevent water from leaking into the home. It is most commonly used around the chimney and vents or at any point where there is a change in slope on the roof. Deck flashing should be installed when you change the slope on your roofs, such as around vents or chimneys. If you are unsure if it’s time to install deck flashing, contact an expert who can help determine whether or not this step is necessary.
What Is the Average Lifespan of a Deck?
The average lifespan of a deck is between 15-25 years. The life expectancy depends largely upon how well it was built and maintained over time. If you are planning on building a deck yourself, make sure that you have all the necessary tools and skills needed to complete this project correctly. A professional contractor can ensure that everything goes smoothly during construction.
Can I Lay Deck Tiles Over the Existing Deck?
You can put deck tiles over an existing deck that is in good condition. As long as the surface is flat and doesn’t have deep cracks, you can tile right on top of it. This provides a new and improved look to the original wood surface without having to tear up the old wood and replace it with something new.
The sides of the existing boards can be seen through the spaces between tiles, so this may not be an option if your goal is to completely hide the old wood. If you do decide to go ahead with this method, make sure you use waterproofing products like Silicone Sealant or Wood Sealer before laying down any tiles. These will help prevent water from getting into the gaps where the board meets the wall.
Other Useful Resources That You May Want to Check Out
How to Remove DRYLOK From Basement Walls