
It is not easy to install vinyl plank flooring just around a bathtub. However, if you follow the instructions in this article, it won’t be as difficult as you might think. Here, you’ll find directions for how to install vinyl plank flooring around bathtub and some helpful hints to shorten the process. So, if you’re considering installing vinyl plank flooring in your bathroom, read about the steps you need to take around it using a bathtub.
What Is Vinyl Plank Flooring?
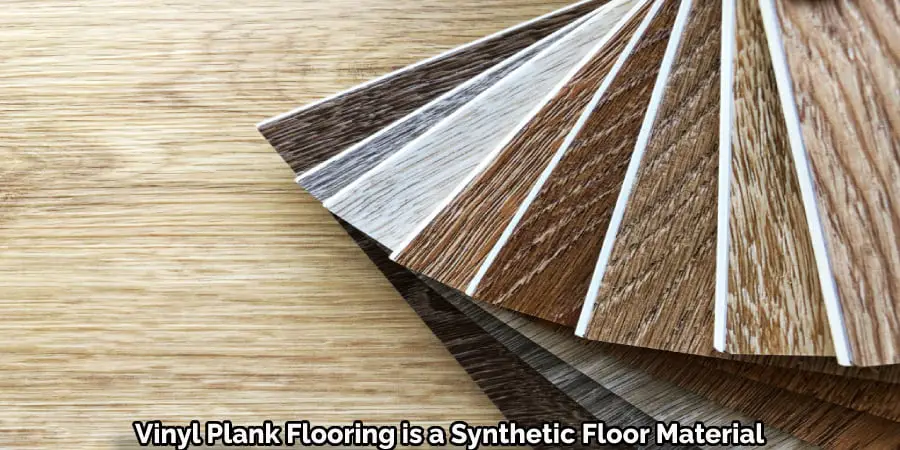
Vinyl plank flooring is a synthetic floor material made from polyvinyl chloride (PVC) and other additives. A number of them ape the appearance of all-natural timber that may be available in the market as a so-called alternative to real wood boards. Vinyl plank flooring is available in a wide range of colors and designs. You can install it in various ways, including click-lock, glue-down, or floating installation.
Advantages of Installing Vinyl Plank Flooring Around Bathtub
Vinyl plank flooring is an excellent option to put in the bathtub because it’s waterproof and easy to clean. Vinyl plank flooring is low-maintenance and affordable, so it’s an excellent choice for a bathroom. Additionally, you can use vinyl plank flooring over most existing floor coverings, making it a perfect choice for the bathroom.
How to Install Vinyl Plank Flooring Around Bathtub
Some steps on installing vinyl plank flooring around the bathtub are given below
Planning
Before you begin the process of installing vinyl flooring around a bathtub, it’s essential to notice that the humidity level will dictate whether the flooring remains intact. To ensure the flooring stays in good condition and doesn’t become warped or damaged, plan for the installation and uncover a waterproof barrier between the flooring and your bathroom sink.
Tools and Materials Needed
Vinyl flooring tiles are a novel type of floor that has become requested in recent years. They’re made up of vinyl, which makes them waterproof and very tough, and you could install them in several ways, such as next to baths. However, in order to set up vinyl plank flooring around a bathtub, you will need some essential tools and materials, including a tape measure., level, saw, hammer, nails, and vinyl plank flooring.
Measuring
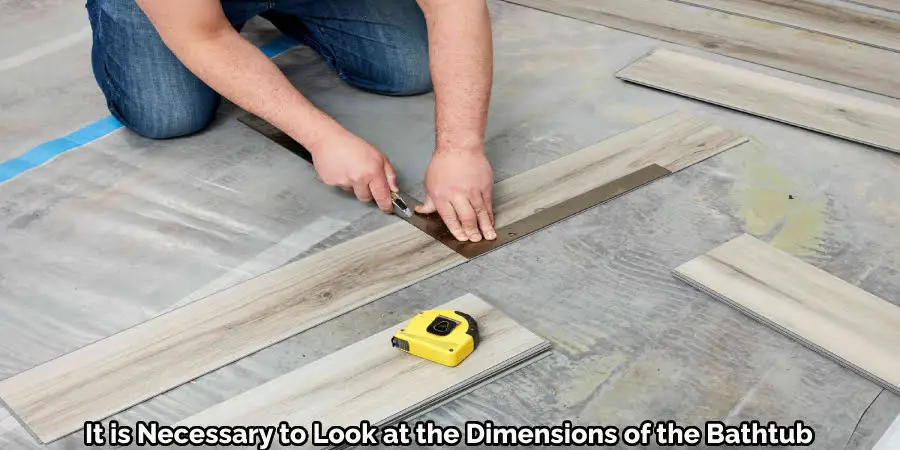
When managing the installation of vinyl plank flooring on a bathtub’s alcove, it is necessary to look at the dimensions of the bathtub and its surrounding area. You will need to measure the length and width of the tub and the length and width of its surroundings. These measurements will help you to calculate the amount of vinyl plank flooring you will need for your job.
Cutting
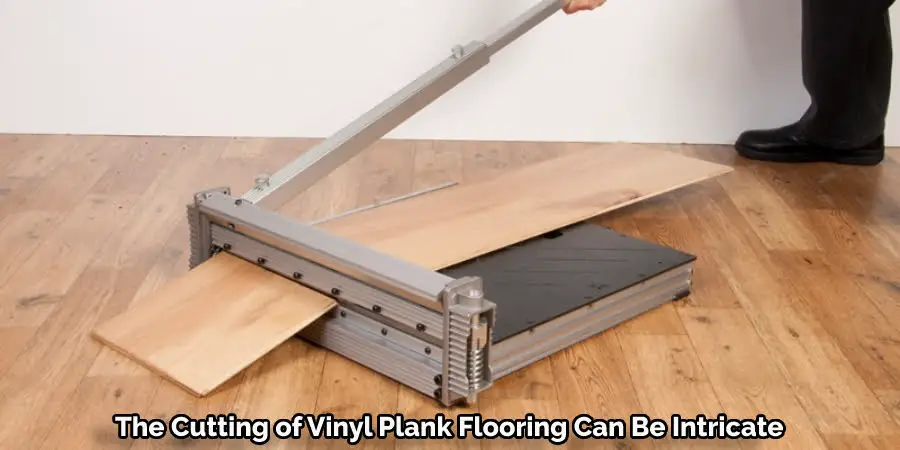
The cutting of vinyl plank flooring around a bathtub can be intricate. To begin with, you should measure the floor so that you can acquire the correct amount. After that, the board should be cut to the appropriate size using a sharp blade and a woodworking straightedge. The board then needs to be positioned around the bathtub and secured in place using adhesive or nails. Finally, any excess material should be trimmed away, and the subfloor should be adequately sealed to limit moisture from entering.
Installing
When installing linoleum, the process is often relatively uncomplicated. After the subfloor is prepared with adhesive and placed on top of the joists or beams, apply a small amount of glue on the wood. Next, spread the floor forward and picture it down. To prevent the plank from warping, you may use a block or weight to push it into place. Once it’s in place, you can add a second layer of glue to hold it. Finally, you can use a utility knife or a carpet knife to eliminate any excess material around the edges.
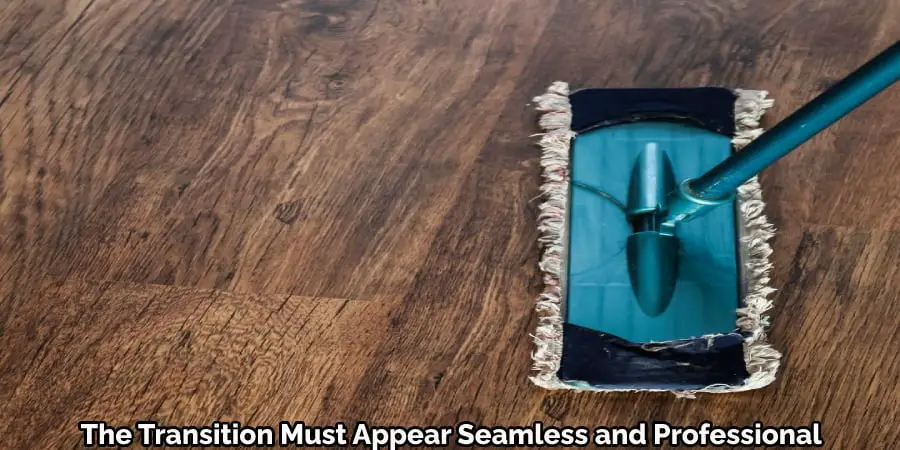
Finishing
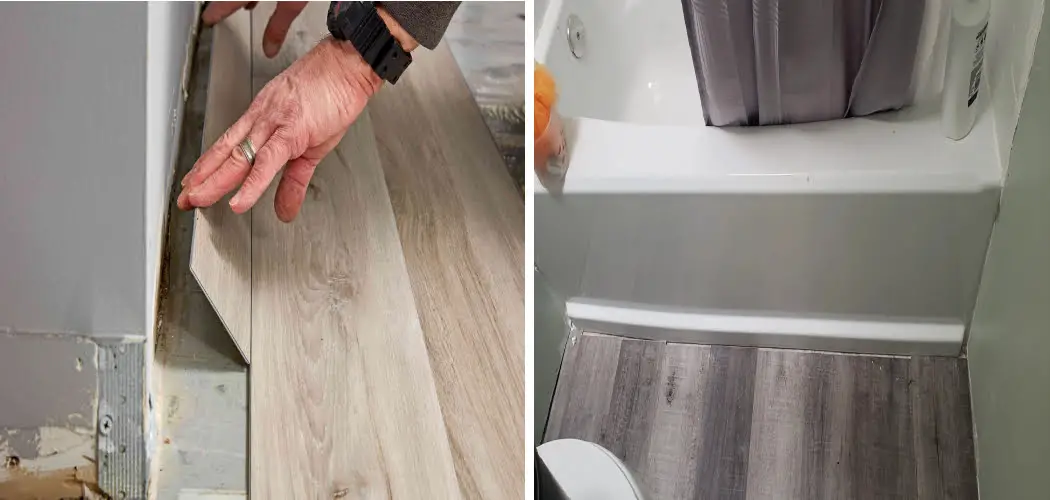
Installing vinyl plank flooring for a bathtub generally entails transitioning between the tub and the floor. This can be done by installing a trim piece on the edge of the tub or by installing a threshold insert that spans the gap between the tub and the floor. In any case, the transition must appear seamless and professional.
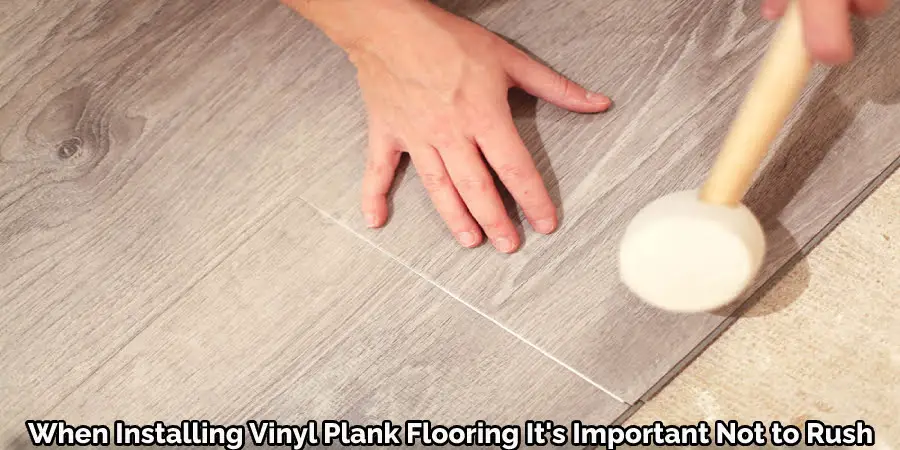
Tips and Tricks
When installing vinyl plank flooring around a tub, it’s important not to rush through this procedure. You must ensure that you have everything you’ll need for the installation process before you start. By making sure you are well prepared, the installation will go well and error-free.
One of the most critical things to keep in mind when installing vinyl plank flooring around the area of a bathtub is to leave a small gap between the flooring and the tub itself to permit water to drain. Furthermore, it is best to use a construction adhesive to ensure a tight seal when installing the flooring in this space. Finally, cut off the plank flooring to fit the tub instead of holding it to the flooring.
Precaution
Before installing vinyl plank flooring in a bathroom, be sure to take a few precautions. Bathtubs can create a watertight seal, trapping water and causing your new flooring to buckle and warp. To keep your new flooring intact when installing vinyl plank flooring near bathtubs, taking a few precautions is vital.
Suppose vinyl plank flooring is installed in the shower or bathtub. In that case, the subfloor must be level and not contaminated with standing water or debris. The vinyl planks must be acclimated to the prevailing temperature and environment for at least 48 hours before installation. All the material seams should be sealed with a moisture barrier.
Should Vinyl Planks Be Installed in Toilets?
Bathroom flooring made of vinyl plank flooring is an ideal choice for bathrooms because it resists moisture and is simple to clean. It can be installed in many creative ways, like around the tub. Vinyl floors should never be installed in toilets, as the substance can become slippery when wet. Vinyl flooring can be either porous or impermeable, depending on the material. Toilets are a place where people often walk around without shoes on, so it’s not a good idea to install vinyl there.
Floating Vinyl Flooring
Updating your bathroom using floating vinyl flooring is an inexpensive way to accomplish that task. Vinyl flooring is various types of flooring made from synthetic materials. It comes in an array of colors.
Floating vinyl flooring is installed by connecting the planks to each other instead of the subfloor, allowing the floor to move freely. The floating vinyl flooring is installed similarly to standard vinyl flooring. The planks are first laid out, and then the subfloor is tiled or covered with other materials. The planks are then connected to each other, and the floating vinyl flooring is installed.
Installation Process of Floating Vinyl Flooring
Get Rid of Old Flooring
This step must be taken before installing the new vinyl floor. First, the old flooring must be torn out using a crowbar or a prybar. You do not want to harm the subfloor during the removal process. Once the flooring is removed, you can install the new vinyl floor before beginning the installation process.
You must have to make sure the subfloor is clean.
Clean Surface
Sweep or vacuum the flooring to remove debris before laying floating vinyl. If there is a buildup of dirt or grease, use a cleaning agent to soften the flooring surface. Be sure to rinse the surface entirely afterward. Allow the subfloor to dry before installing the flooring.
Roll Out Vinyl
Floating vinyl flooring must be fitted by cutting and unrolling it to the desired size. The surface should be dry and clean precisely before the start of the installation process. After all of the vinyl has been cut, you’ll need a tool to cut the backing. Then, your vinyl must be aligned with the corner and press it into place with a roller. Then, smooth out everything with the roller, and cut the vinyl edge with scissors.
Attach the Adhesive Strip
To attach the vinyl flooring to the subfloor, you need a glue strip. The adhesive strip is typically provided with the vinyl flooring package, or you can purchase one separately. Before you start applying the adhesive strip, make sure the subfloor is clean and dry.
How to Make Vinyl Plank Flooring Waterproof?
Vinyl plank flooring is a well-liked option for flooring as it is durable, has a veneer appearance, and resembles wood. Nonetheless, if the water isn’t properly eliminated, the flooring may become permanently damaged.
This article will provide you with some advice to waterproof vinyl plank flooring so that you can keep your floor looking fresh. There are various methods for sealing vinyl plank flooring. One way is to use an adhesive that is designed to be used on vinyl flooring. Another approach is to apply a sealant that can take care of the floor’s surface. This sealant will create a barrier between the floor and anything that may come into contact with it.
Conclusion:
Vinyl plank flooring is an excellent option for bathroom floors because it offers durability, waterproofness, and longevity when appropriately installed. However, if you’re contemplating installing vinyl plank flooring for the bathroom, make sure you stick to the earlier steps.
Other Useful Resources That You May Want to Check Out
How to Install a Floating Granite Shower Seat