
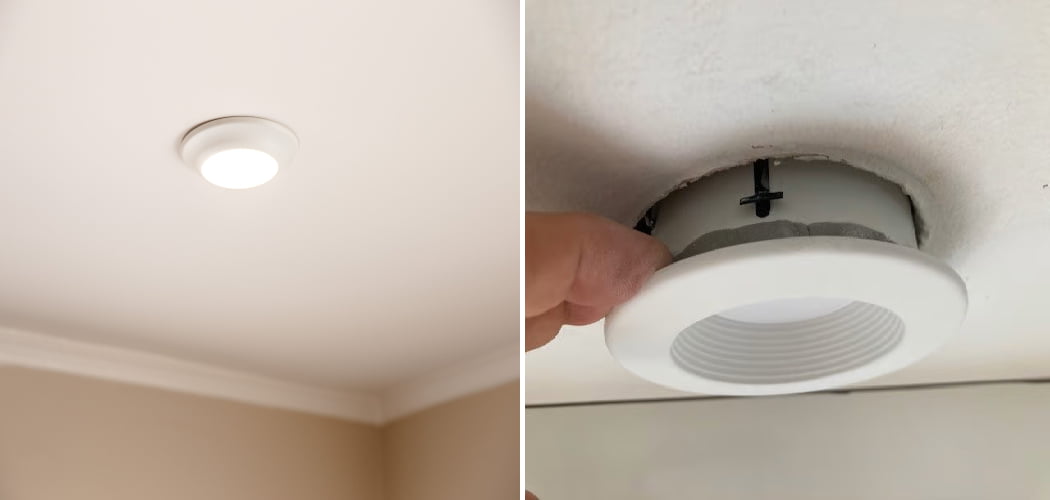
Canned light is a type of artificial lighting that is designed to be used in place of natural light. It is typically composed of a metal or plastic housing that contains one or more light bulbs, and it can be mounted either flush with the ceiling or recessed into the ceiling. Canned light is a popular choice for home remodeling projects because it is relatively affordable and easy to install.
If you have a can of lights that you no longer need, there are a few simple steps that you can take to remove them. In this article, we will discuss how to remove canned lights.

Types of Canned Lights
There are many different types of canned lights on the market today. Some of the most popular types are LED, halogen, and fluorescent lights. Each type of light has its own advantages and disadvantages.
LED lights are the most popular type of canned light because they have a long lifespan and use very little energy. They are available in a variety of colors and can be used for both indoor and outdoor lighting.
Halogen lights are also popular because they have a long lifespan and produce a lot of light. However, they can be quite expensive to purchase.
Fluorescent lights are the least popular type of canned light because they tend to be bulky and not very bright. However, they are the most energy-efficient option available and can be found at a variety of price points.

Why Do You Need to Remove Canned Lights?
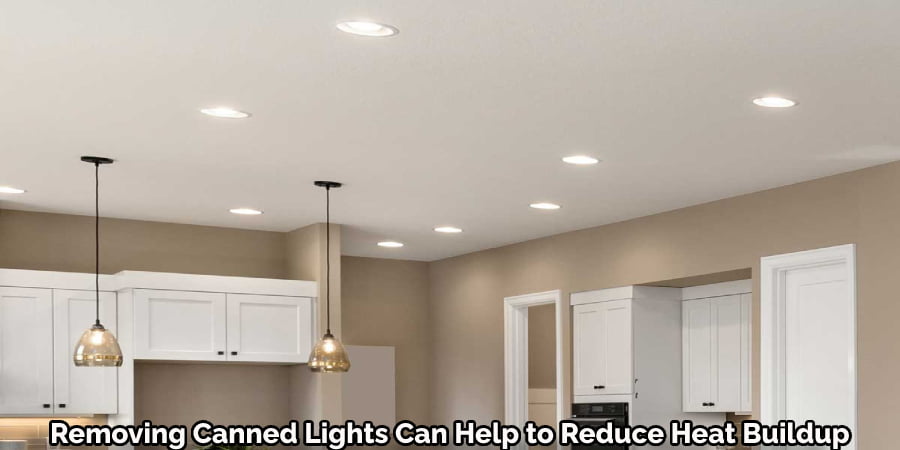
Canned lights are often used in kitchens and bathrooms because they provide good task lighting. However, they can also be a source of heat buildup, which can lead to problems such as premature paint failure and warping of cabinets. Removing canned lights can help to reduce heat buildup and prevent these problems.
Tools You’ll Need to Remove Canned Lights.
Removing a light bulb from its socket is a simple task. But what if the light bulb is encased in a metal can? In this case, you’ll need some special tools to remove it. Here are three tools you can use:
- A screwdriver- This is the most common tool used to remove light bulbs. If the bulb is tight in the socket, you can use a screwdriver to pry it out.
- Pliers- If the screwdriver doesn’t work, try using pliers. Clamp them around the base of the light bulb and twist them until it comes loose.
- A knife- If both the screwdriver and pliers fail, try using a knife. Cut through the metal casing of the light bulb and pull it out.
Preparing the Area
Removing canned lights can be a daunting task. There are a few things you can do to make the process easier. First, remove any furniture or other objects from around the light fixture. This will give you more space to work and make it less likely that you’ll damage anything. Next, use a ladder to reach the light fixture and loosen the screws that hold it in place. Be careful not to drop anything on your head!
How to Remove Canned Lights
Canned lights, also known as track or recessed lights, are a popular choice for lighting in homes. They are easy to install and can be used to provide general or task lighting. While canned lights are a great option, they can be difficult to remove once they are installed. In this article, we will show you how to remove canned lights without damaging them or the ceiling.
Remove the Lightbulb
There are a few methods you can use to remove a lightbulb.
To remove a lightbulb, you will need the following:
-A pair of gloves
-A metal hanger
-Screwdriver
Step 1: Put on your gloves to protect your hands.
Step 2: Use the screwdriver to unscrew the lightbulb from the socket. Be careful not to touch the glass part of the lightbulb with your fingers.
Step 3: Take the metal hanger and bend it into a U shape.
Step 4: Carefully insert the metal hanger into the socket and twist it until the lightbulb comes out.
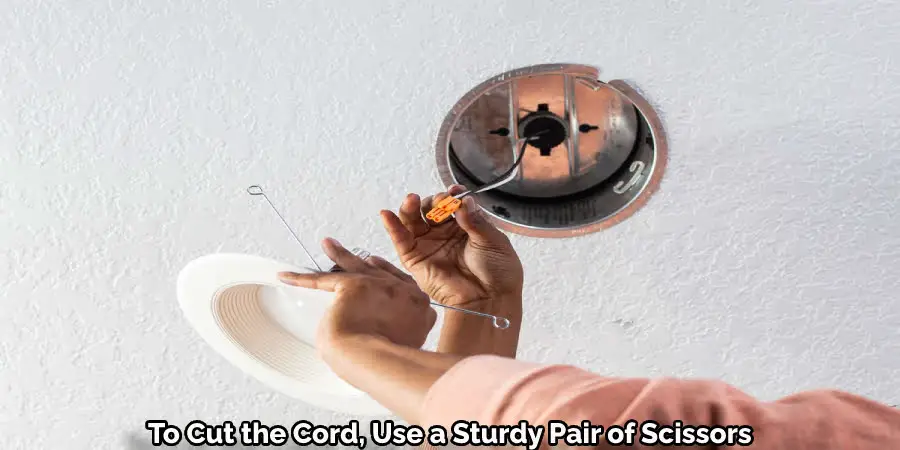
Cut the Cord
To cut the cord, use a sturdy pair of scissors to cut the wire near the base of the light. Be sure to cut the wire as close to the light as possible to avoid any extra wiring. Once the cord is cut, pull the light away from the wall and discard it.
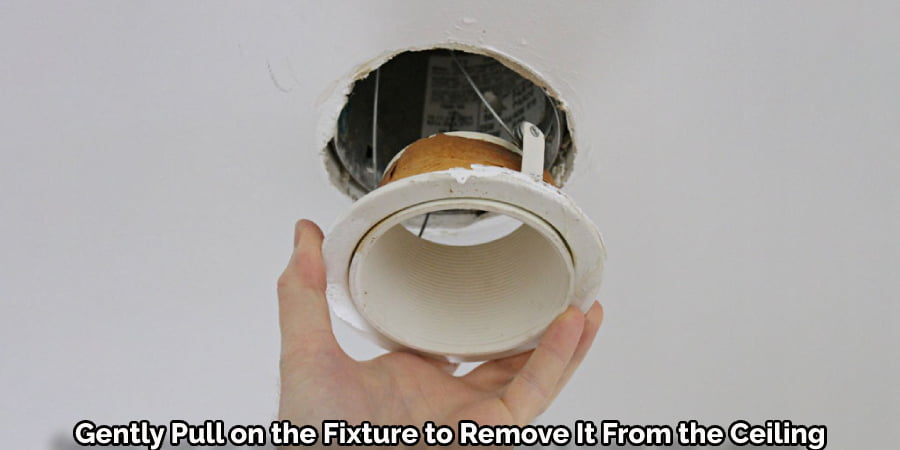
Remove the Fixture
Removing the fixture of canned light is a relatively simple process. The first step is to turn off the power to the light by flipping the switch on the wall. Once the power is off, unscrew the light bulb from the fixture. There may be a nut or a screw holding the fixture in place; remove it using a Phillips head screwdriver or a wrench. Gently pull on the fixture to remove it from the ceiling.
Tips and Tricks
There are a few tricks that can be used to make the process of removing canned light easier. One is to use a sharp object like a knife or scissors to cut the top of the can off. Another is to use a can opener to pierce the lid and then twist it off. A third method is to use a lever, like a spoon or butter knife, to pry the lid off.
Precautions
The following are a few precautionary measures one can take while removing a canned light:
– Make sure the light is unplugged from the outlet before beginning the removal process.
– Use a flathead screwdriver to remove the screws that hold the light in place.
– Carefully pull the light out of the housing and set it aside.
– Avoid touching the lightbulb with your hands, as this could cause oils from your skin to smudge the glass.
Conclusion
In conclusion, removing canned lights is a process that can be completed by following a few simple steps. By taking the time to remove the lights, you can save yourself money and ensure that your home is safe.
People Also Ask
How to Remove Recessed Can Lights Without Attic Access?
If you’ve ever tried to remove a recessed can light without attic access, you know it’s not an easy task. The good news is that there are a few methods you can use to get the job done. In this article, we’ll show you how to remove a recessed can light without attic access.
There are a few ways to remove recessed can lights without attic access. One way is to use a fishing rod to grab the light and pull it out of the ceiling. Another way is to use a vacuum cleaner with a hose attachment to suck out the light. A third way is to use a hammer and screwdriver to pry open the can light housing and then remove the light from inside.
How to Remove Led Can Lights?
To remove the LED can light, one must unscrew the lightbulbs from the metal casing. The wiring and other components must be disconnected in order to remove the entire light fixture. Care must be taken to avoid damaging any of the electrical wiring. The new LED light fixtures can then be installed by following the reverse steps.
How to Remove Retrofit Can Lights?
Removing a retrofit can light is a fairly simple process. The first step is to turn off the power to the light by flipping the switch in the electrical box. Once the power is off, unscrew the light cover and remove the light bulb. There may be a wire connector attached to the base of the light bulb. If so, use a pair of pliers to loosen the connector and remove the light bulb.

What’s the Difference Between Can Lights and Recessed Lights?
Can lights, or cans, are typically smaller in size and have a more shallow depth than recessed lights. They are often used as accent lighting or to light up a specific area. Recessed lights are larger in size and have a deeper depth. They are typically used to light up an entire room.
How Much Does It Cost to Put a Can Light in?
The cost of installing a can light depends on a few factors, including the type of light and the size of the room. In most cases, it costs between $50 and $100 to install a new light. However, in some cases, the cost may be higher or lower depending on the specific situation. In general, homeowners should expect to pay between $0.50 and $1 per square foot for installation services.
How Do You Install Can Lights in a Ceiling?
There are a variety of ways to install can lights in a ceiling, but the most common is probably to use a hole saw to cut out a hole in the ceiling and then insert the light can into the hole. You can also use a jigsaw to cut out the hole, but a hole saw is generally recommended because it creates a neater, more even hole. Once you have installed the light can, you will need to connect it to an electrical source.
How Do You Choose Can Lights?
When selecting can lights, there are a few factors to consider. The first is the size of the room. You will want to select a light that is the right size for the room. The second is the type of light. There are a few different types of can lights, so you will want to select one that is appropriate for the room. The third factor is the color of the light. You will want to select a light that has a color that is appropriate for the room.
You May Also Find These Pages Useful
How to Remove Old Recessed Light Housing
How to Cap Off Outdoor Electrical Wires